Transactions
Transaction History
Section titled “Transaction History”Transaction History is your master ledger of money movement.
Use it for:
- Searching by merchant, amount, or date.
- Auditing what happened in a period.
- Correcting categorization before reports are generated.
User examples:
- Personal spending: track food, transport, entertainment, and subscriptions.
- Professional/independent life: monitor salary, rent, bills, and repayments.
- Household planning: track education, insurance, and long-term commitments.
Weekly habit:
- Scan latest entries.
- Fix uncategorized or wrongly tagged items.
- Check for duplicates or missing major transactions.
Add or Edit Transaction
Section titled “Add or Edit Transaction”Add/Edit is where data quality is built.
Important fields:
- Amount: Enter exact value.
- Type: Expense, income, or transfer.
- Account: Source/destination account.
- Category/Subcategory: Reporting classification.
- Tags: Cross-cutting context (trip, school, project, etc).
- Date/time: Historical ordering and period allocation.
- Notes: Optional detail for future review.
Recommended entry process:
- Select correct account first.
- Enter amount and transaction type.
- Assign category and tag before saving.
- Add notes only when context may be forgotten later.
Common mistakes to avoid:
- Logging card repayments as normal spend.
- Using vague tags that become useless later.
- Saving without category and fixing “someday.”
Transaction Details
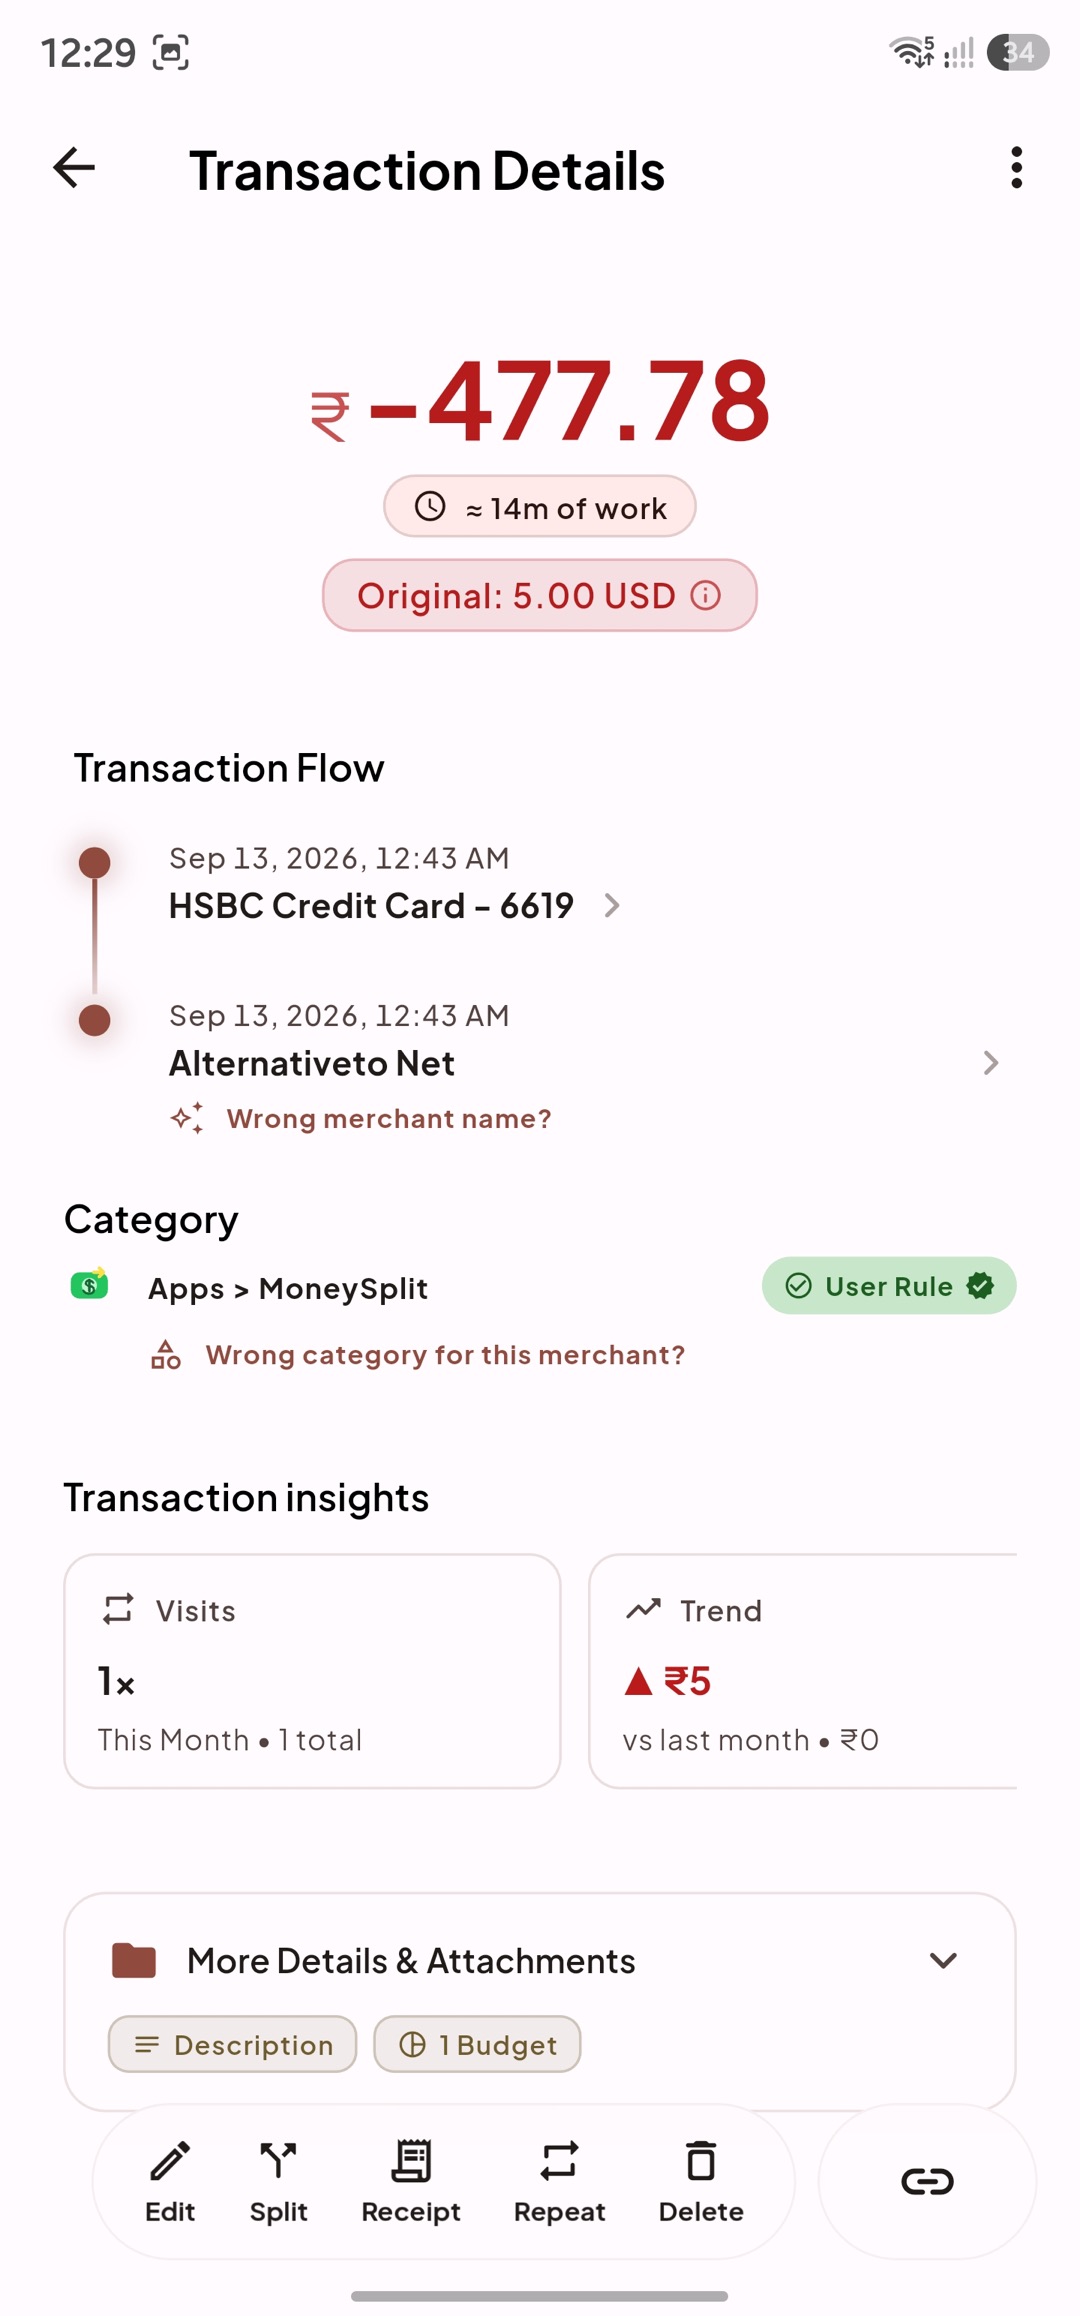
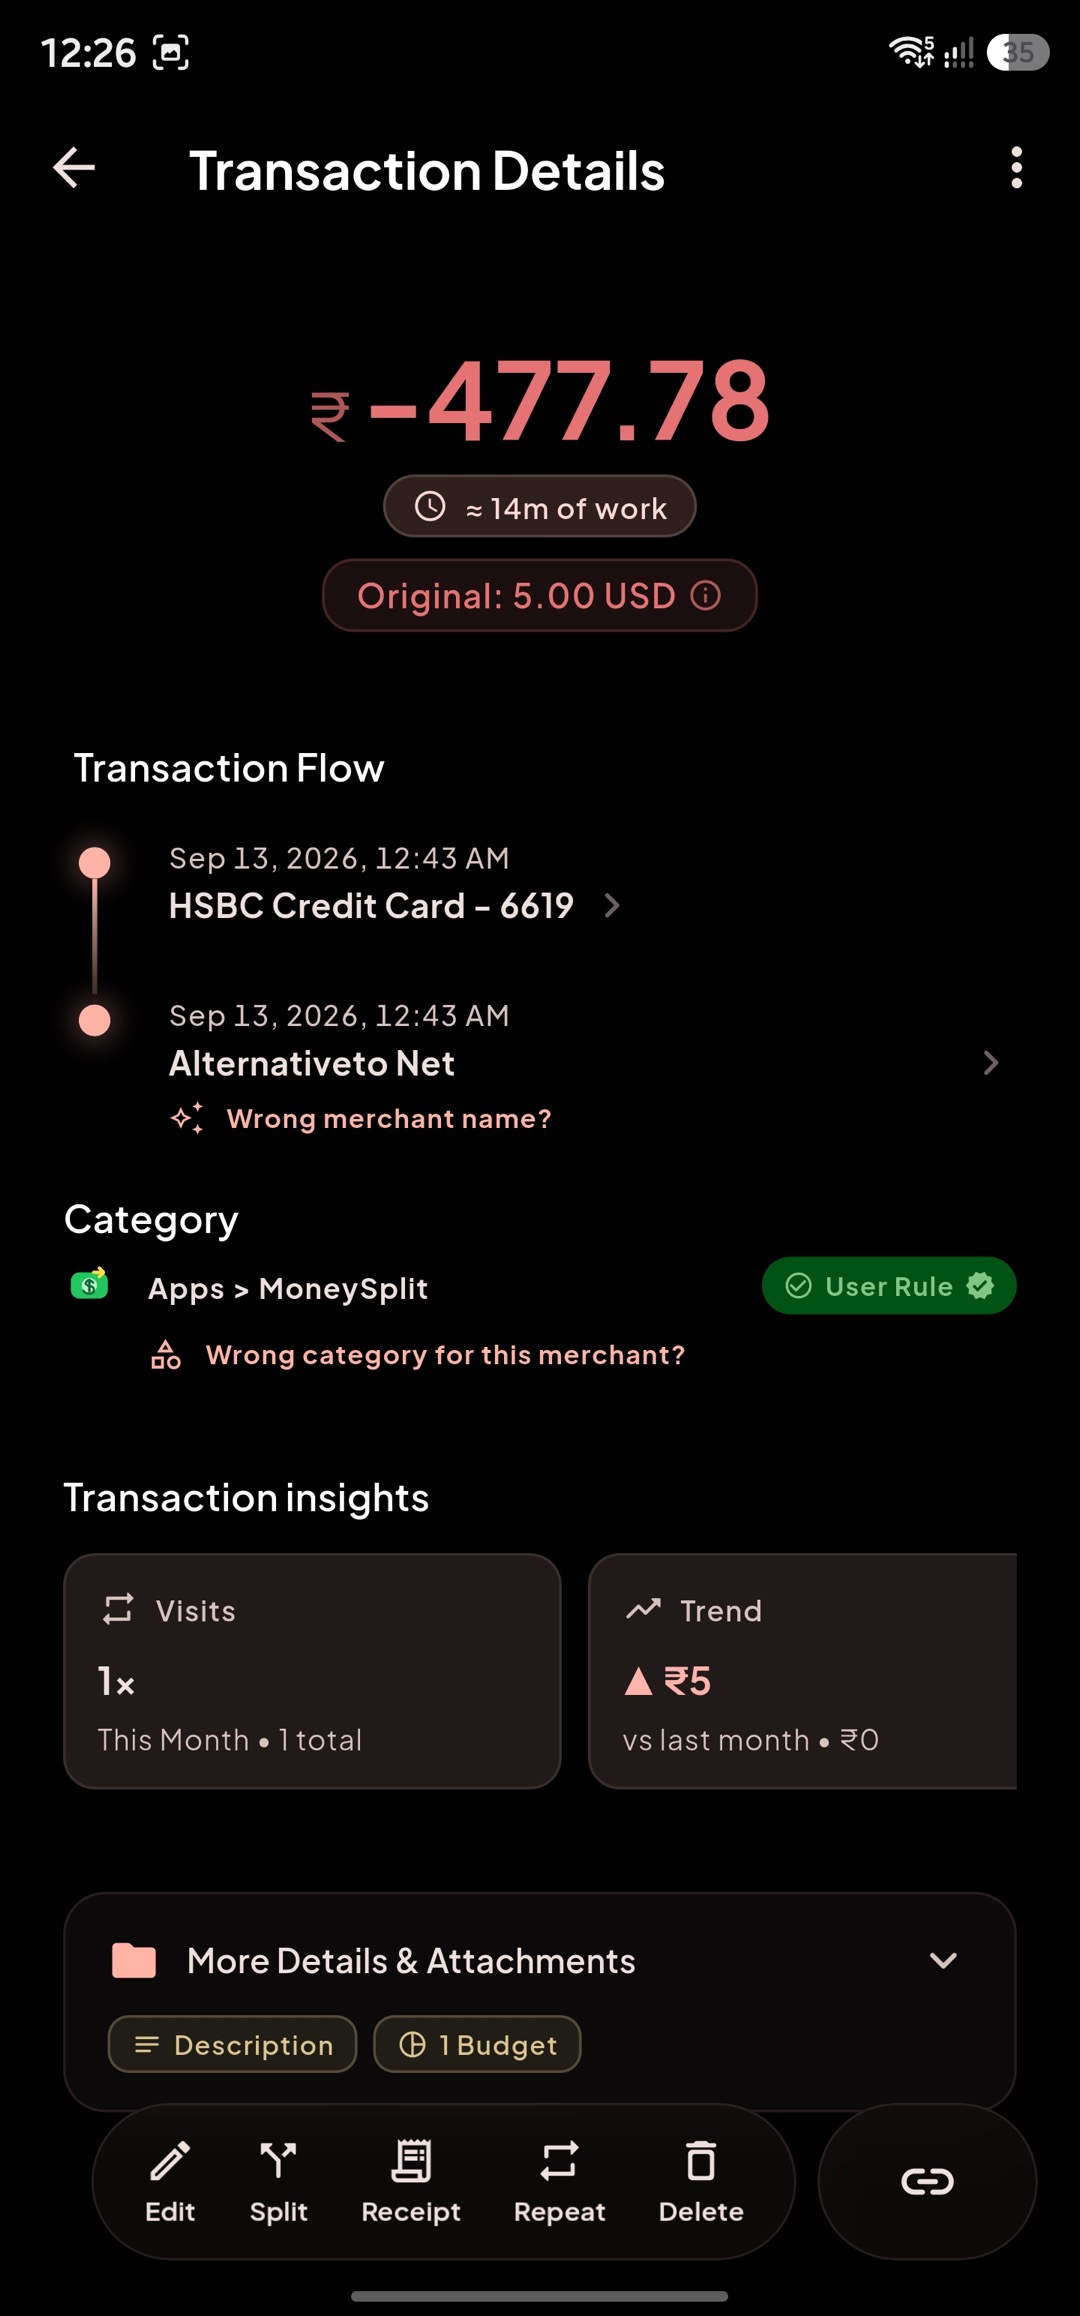
Section titled “Transaction Details”Transaction Details is for deep correction, context linking, and receipt attachments.
Use this view when:
- The transaction was imported with partial data.
- You need to reassign account/category/tag.
- You want to link this entry to bills, subscriptions, budgets, or loan context.
- A suspicious transaction needs inspection.
- You need to attach, view, or remove physical receipt images.
Link menu
Section titled “Link menu”The link button in transaction details helps connect one payment with the thing it belongs to.
Use it to:
- Link a credit card payment
- Link a self transfer
- Link a subscription payment
- Link a bill payment
- Link a budget
- Link a loan payment
For loans, this is especially useful when:
- An EMI was paid from a bank account and you want the loan to reflect that payment context.
- You made an extra payment toward principal and want the ledger and loan to stay connected.
- You want to open the linked loan later from the transaction details screen.
Receipt Attachments
Section titled “Receipt Attachments”You can attach physical or digital receipt images directly to any transaction for digital bookkeeping and audits:
- Attach a Receipt: Tap the Attach Receipt action chip (or use the screen’s action menu). You can select Take Photo to capture a receipt with your camera, or Choose from Gallery to upload an existing screenshot or image.
- View Full Receipt: Tapping an attached receipt thumbnail opens it in a full-screen viewer with zoom support.
- Remove a Receipt: Tap Remove Receipt in the action menu or below the preview card to delete the image from the transaction. (This deletes the file from local storage and cannot be undone).
- Supported Formats: MoneySplit supports standard image formats including
.jpg,.jpeg, and.png. - Local Storage Security: To protect your privacy and ensure offline availability, all photos are copied and stored locally inside the application’s secure documents folder (in the
receiptssubfolder) using unique UUID names to prevent collisions.
Best practice:
- Correct at source (details view) instead of creating compensating entries.
- Keep one transaction = one real-world event unless split is intentional.
- Attach receipts immediately after a purchase to ensure clarity during reconciliation.
Review & Reconciliation
Section titled “Review & Reconciliation”Review/Reconciliation is where pending or auto-detected entries are confirmed.
Goal:
- Ensure only valid transactions reach core dashboards and analytics.
What to verify before confirm:
- Correct account match.
- Correct amount direction (income vs expense).
- Correct category/tag mapping.
- No duplicates.
Recommended approach:
- Start simple and confirm obvious entries first.
- Resolve pending entries before monthly budget review.
- Prioritize high-value and recurring obligations first.
Links & Filters
Section titled “Links & Filters”Filters and links turn a large ledger into actionable subsets.
Use filters to answer questions like:
- “What did I spend on food this month?”
- “How much did this specific account spend in 7 days?”
- “Which transactions are tied to this subscription/bill?”
Use linking to:
- Connect obligations with real payments.
- Improve reconciliation accuracy.
- Improve downstream insight quality.
- Keep loan payments tied to the right loan record.
Tip:
- Save mental effort by using consistent tags and category naming from day one.
Budget-specific note:
- When you open View All Transactions from a budget, the list follows that budget’s include/exclude tag rules, and still keeps manually force-linked transactions visible.